
Directions:
Add milk, yeast, 1 tablespoon of sugar, and 3 tablespoons of flour in a medium bowl.
Stir to form a runny mixture.
Allow the mixture to rest in a warm environment for about 15 minutes or until is foamy and doubled in size.
Make the dough & proof
In the bowl of a stand mixer add the remaining flour, sugar, and the preferment dough you made before.
Add the egg, nata, vanilla extract, butter, and salt.
Set the medium speed and knead until a smooth dough forms.
Slightly grease a large bowl with butter or oil.
Oil your hands with a bit of oil and remove the dough from the bowl.
Quickly form a ball and place it in the bowl.
Cover with cling film and allow to proof until doubled in size (from 1 to 3 hours, depending on the room temperature).
Make the gorditas
Slightly flour a working surface and transfer there the dough.
Flour a rolling pin and roll the dough into a sheet about ¼-inch (1 cm) thick.
With a 2.75-inch (7cm) round cookie cutter, cut the dough to form the gorditas.
As you cut them, place them in a lightly floured baking sheet.
Reshape the dough scraps and continue to cut out additional rounds until all dough is used.
Second proof
Cover the gorditas with cling film and allow them to proof in a warm environment for 30 minutes.
Cook
Heat a comal or iron-cast pan over medium-low heat.
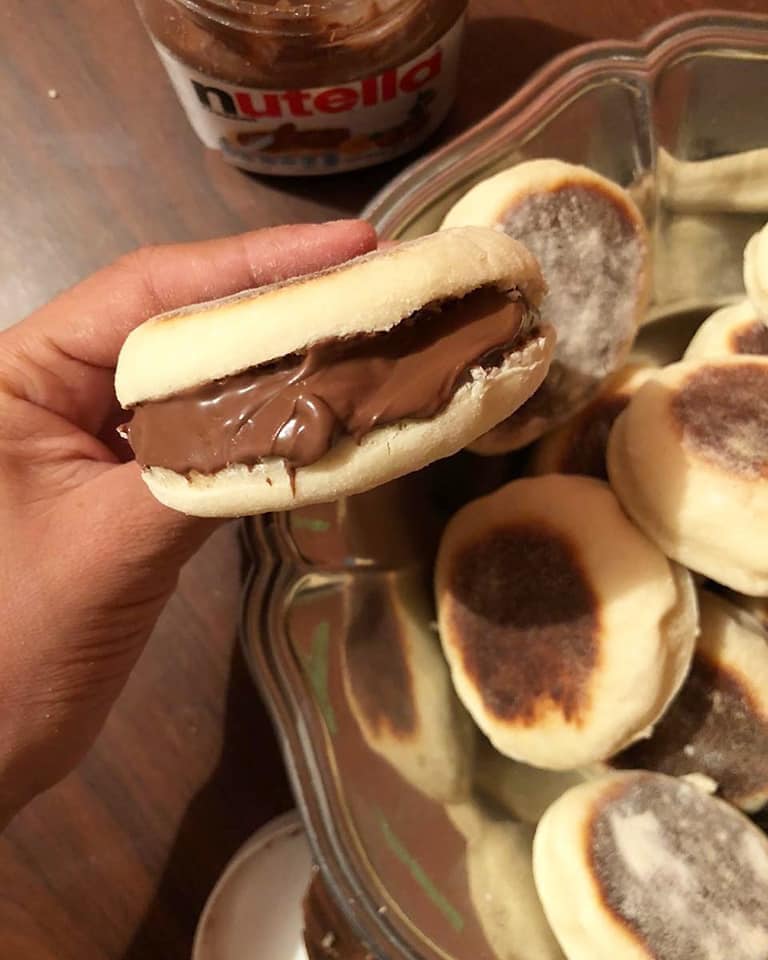
Carefully, add as many gorditas fit in the pan and cook for one minute or until you’ll see the bottom starts to get brown and crispy.
Gentle, flip gorditas and keep cooking for another 5-6 minutes to make them puff and cook evenly on the inside (read notes).
Gorditas will be ready when golden brown on the top and bottom sides.
Transfer them to a serving plate and wrap them with a kitchen towel to keep them warm.
NOTES
You can substitute nata with:
English clotted cream.
Mascarpone cheese.
Kaymak (Turkish cream)
Crème fraiche.
Whipping cream (whipped to the point it starts to become butter).
About the cooking:
Cooking the gorditas is the most important step as you don’t want them to be raw on the inside or to burn on the outside, so keep an eye on the temperature of the pan to prevent any of this to happen.